Múinteoir Clare’s 3rd Class
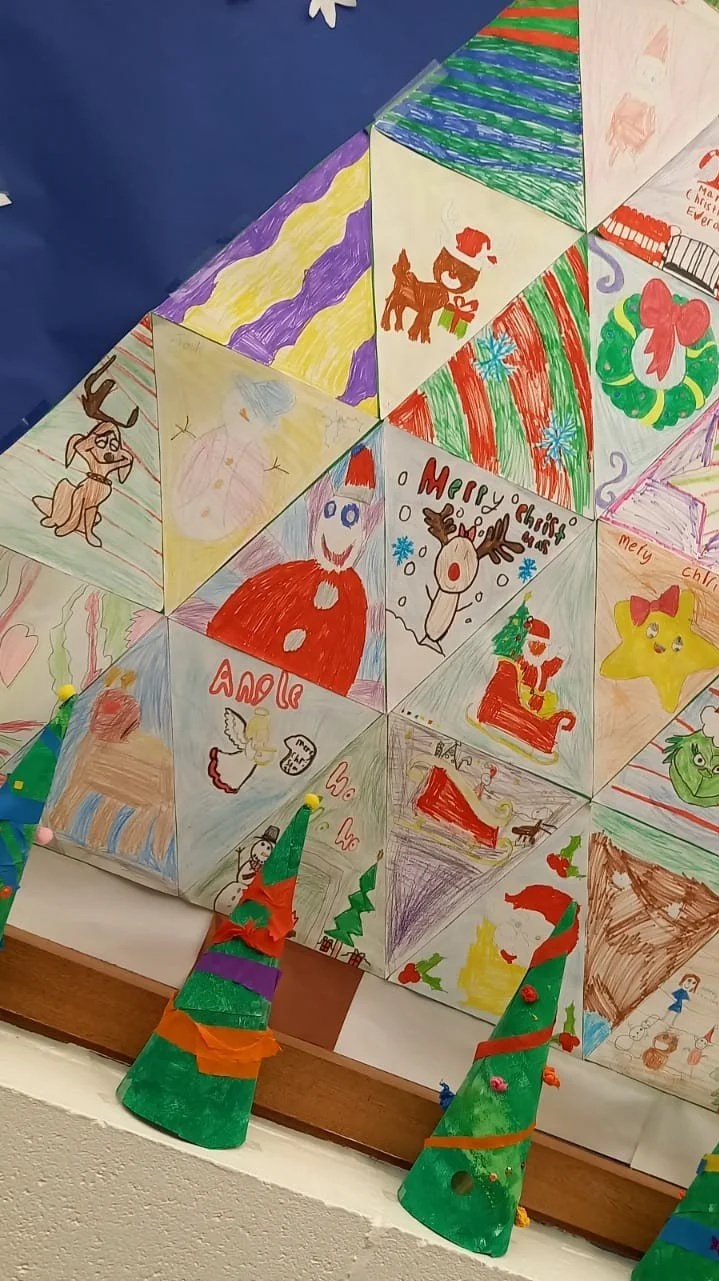
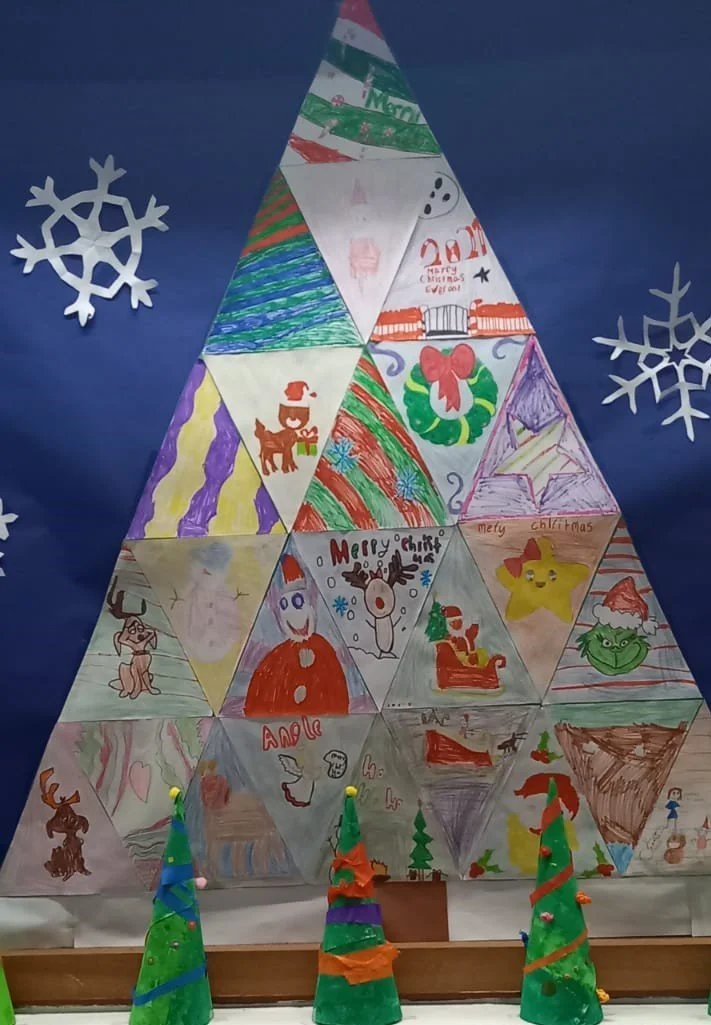
Our Christmas window is called "Winter Woodland".
Here are the steps we took to make each part of the window.
The children cut out large triangles. The children drew different Christmas designs on the triangles. The children coloured in their designs. We then arranged their triangles to create two giant Christmas trees and glued them to blue backing paper.
To create the snowflakes, the children had to fold a piece of paper in a specific pattern. The children then drew their snowflake design. The children cut out their designs carefully. When they unfolded their paper, they revealed a unique snowflake.
The children each painted an A3 page different shades of green. Once the pages dried, they were shaped into cones. The children decorated the cones to look like Christmas Trees using crepe paper and sequins.


Múinteoir Rob’s 3rd Class
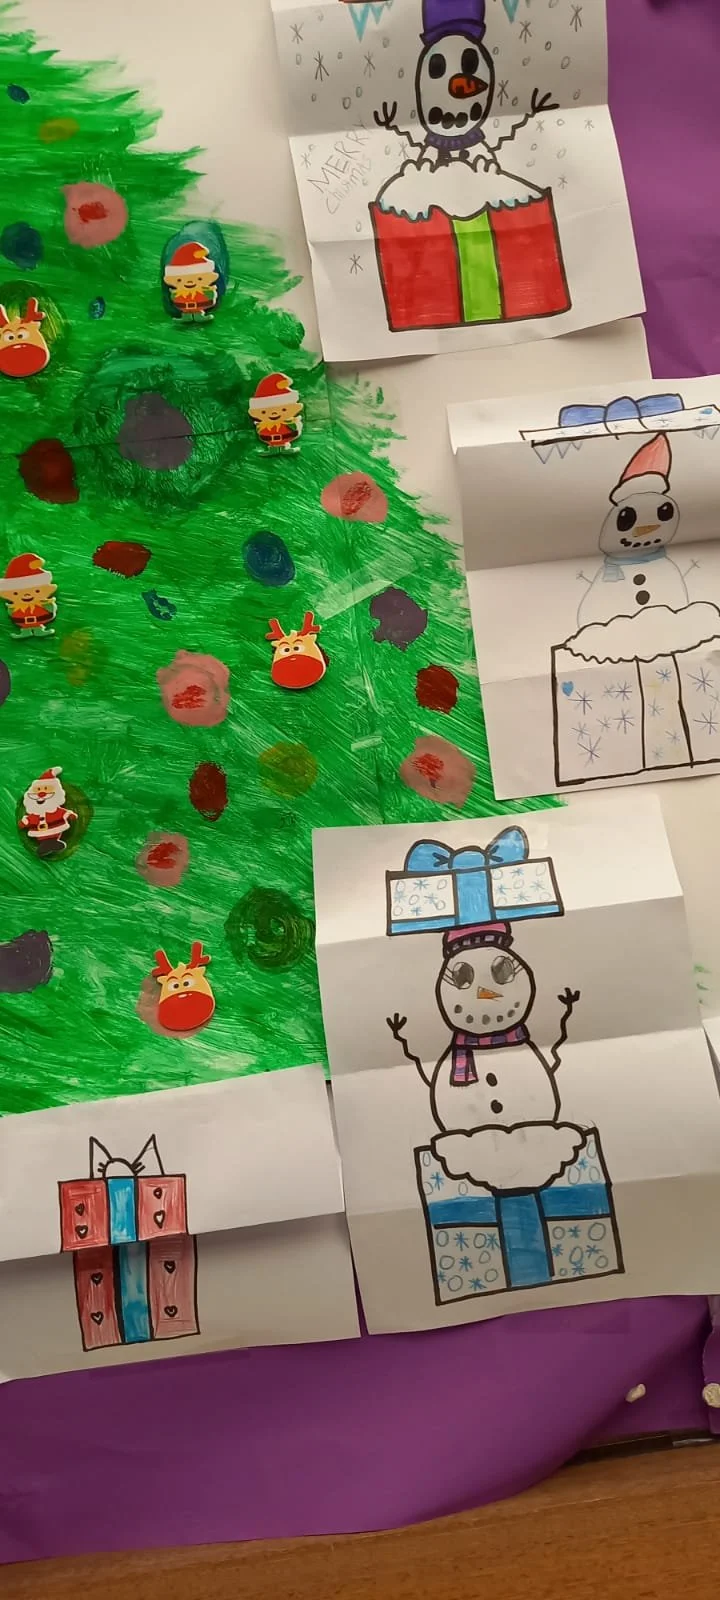
Our Window is called ‘Christmas through the window- A room of surprises’. We decorated Xmas trees in rooms with presents revealing snowmen, snow globes and elves .

Múinteoir Laura’s 3rd Class
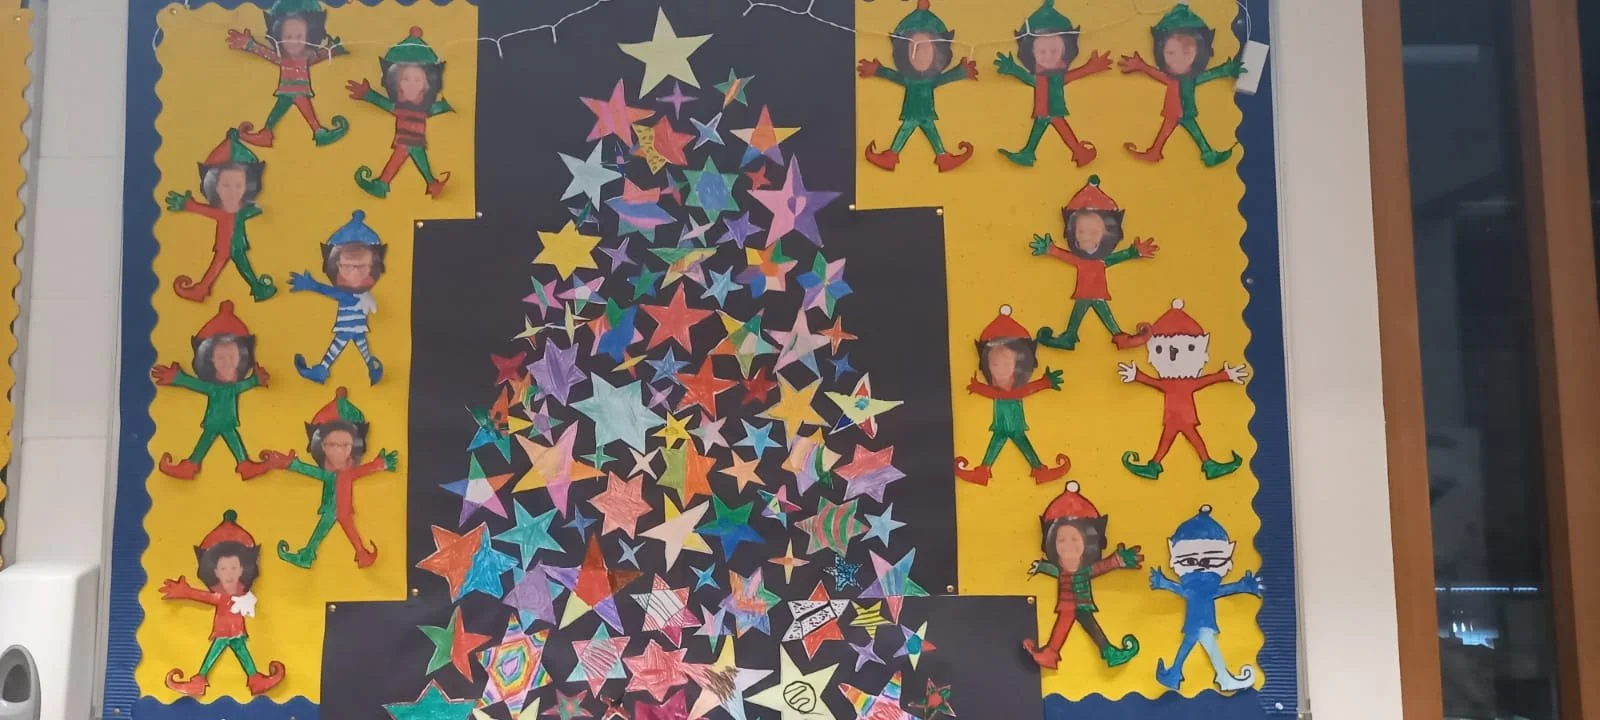
Our window is called ‘Our Christmas Sitting Room’
1. For the elf we helped Rebecca to cut out the shapes and we stuck them together.
2. Some people from the class mixed brown paint and used it to paint the mantle piece and wood logs. We also painted the stockings using Christmas colours such as green, red, blue and white.
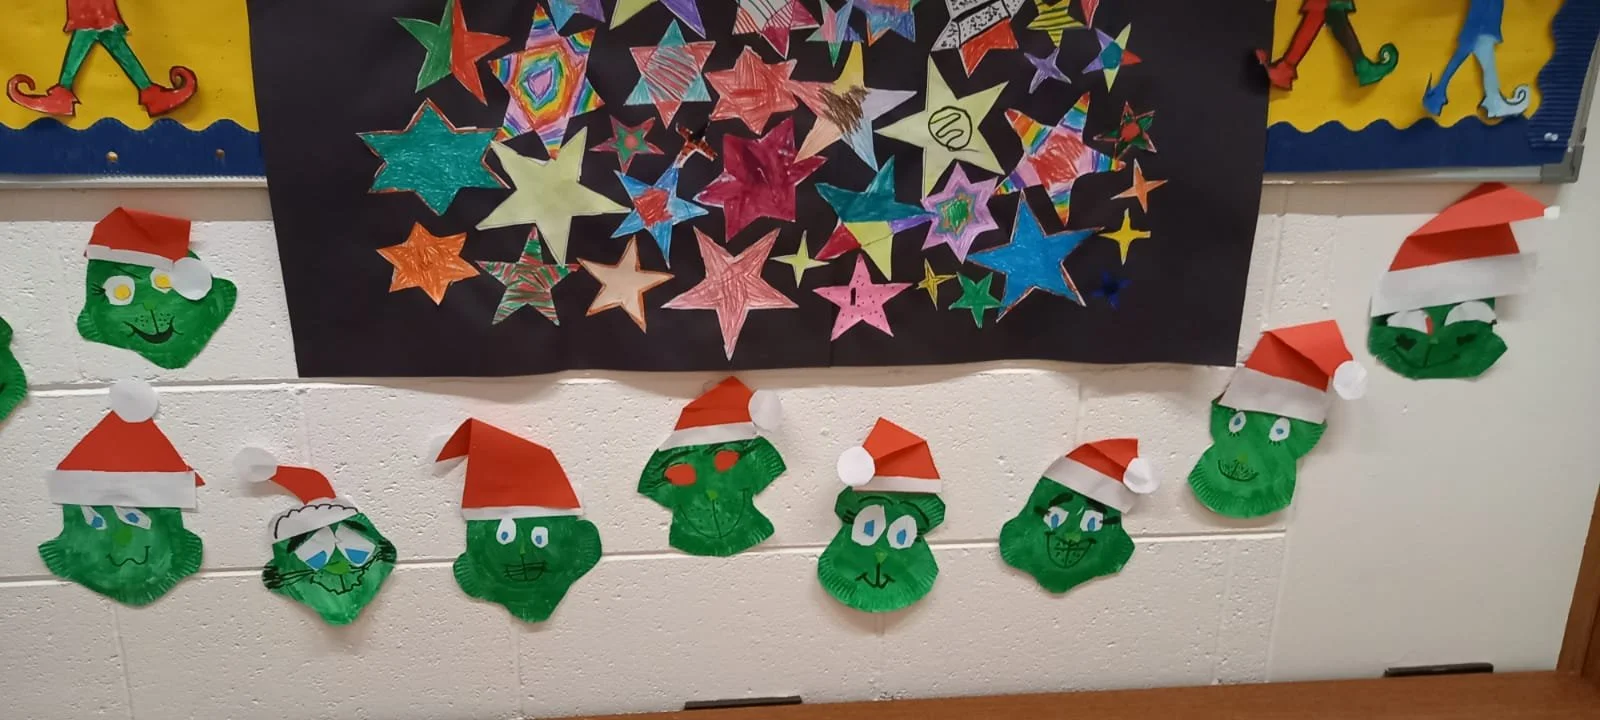
3. We coloured in and designed four stars each. We then cut them out and glued them on the black paper in the shape of a Christmas tree.
4. We painted our elves then cut them out and glued a picture of our faces on the elf.
5. For the grinch we first painted the paper plate green. Then, we cut the edges of the plate and decided on different eye and mouth shapes to use.